Using a SSH key pair should be mandatory at this point. Not only is it convenient, as you will be automatically authenticated to hosts where your public key is uploaded to, your key itself is unquestionably hundreds, if not thousands of times stronger than your average Linux user password.
When creating a VPS server or AWS EC2 instance it’s a question you will almost be certainly asked – do you want to add a key pair?

So, what is the best way going about adding a SSH key to your server?
I do not recommend generating the key on AWS and then downloading it to all of your machines. This is less secure than using a new key for each machine you are accessing from, but it also can provide compatibility problems depending on your specific OS and SSH client configuration.
In this example we will be using a Linux client to create and then upload a SSH key to our AWS account
0. Checking if we have a key on our system
Let’s first check and see if you have any keys stored in our home. you can do
$ cd
$ ls -la
Note: $ sitting at the front means we are in the user prompt and # would mean we are in superuser mode
to look at all your files and you might find a .ssh folder.
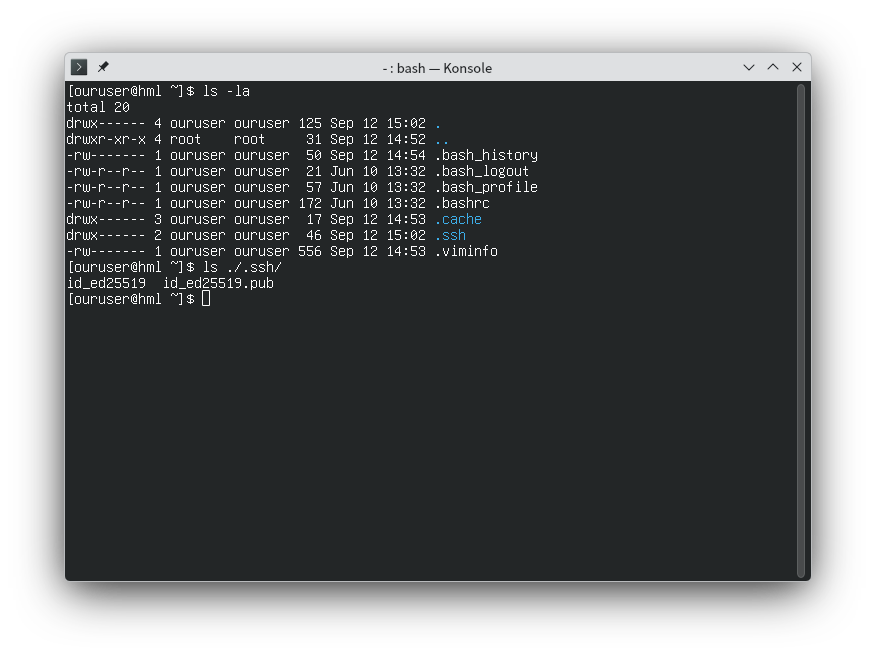
This is what your home folder looks like with .ssh directory. If you see anything with id_(something) and a id_(something).pub, you already have a pair of keys. You can choose to keep them or delete them.
1. Creating the key
We can then initiate the key making process by running ssh-keygen.
$ ssh-keygen
We will then be asked something along the line of
Enter file in which to save the key (/home/<username>/.ssh/id_ed25519):
We can leave this option blank as you will only need one key pair.
Enter passphrase for "/home/<username>/.ssh/id_ed25519" (empty for no passphrase):
You then can add a passphrase. You will be asked for the passphrase when you use your private key. It is entirely optional, but a good second layer of security just in case if your private key gets exfiltrated or the device your key resides on gets stolen.
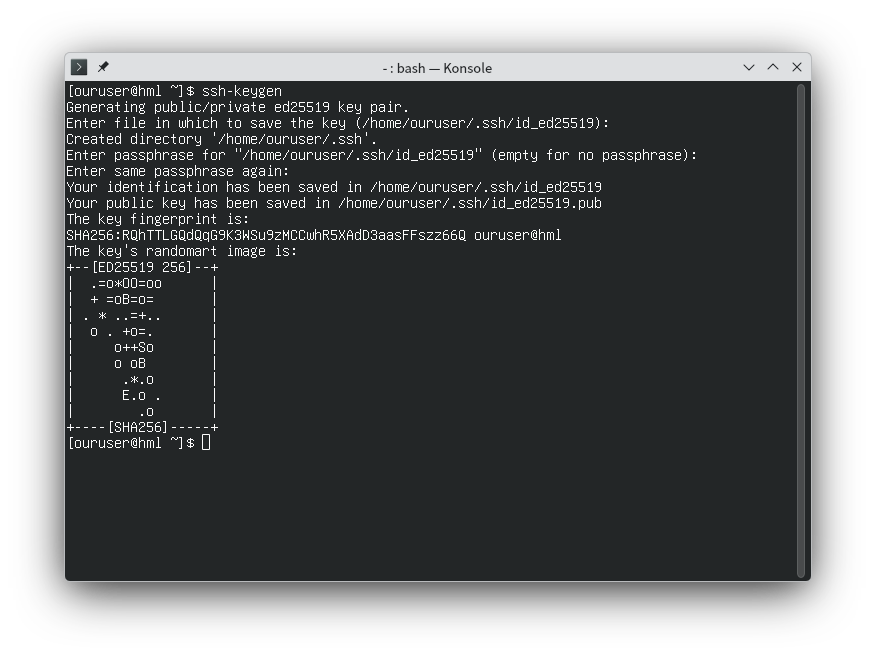
After you confirm your passphrase, your key will be created and stored in your ~/.ssh directory.
Important Note
Never share your private key with anyone! Only upload your .pub to your servers and external devices.
2. Adding the key to our AWS account
Before anything else, make sure you are in the correct AWS region you plan to deploy your instances in. Key pairs are unique to reach AWS region, e.g. if you upload a pub key to us-east-1 it will not show up in ap-northeast-1.
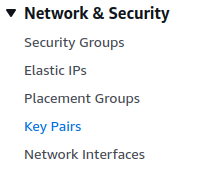
We can navigate to the EC2 dashboard and underneath the Network & Security menu, we can click on the Key Pairs link.
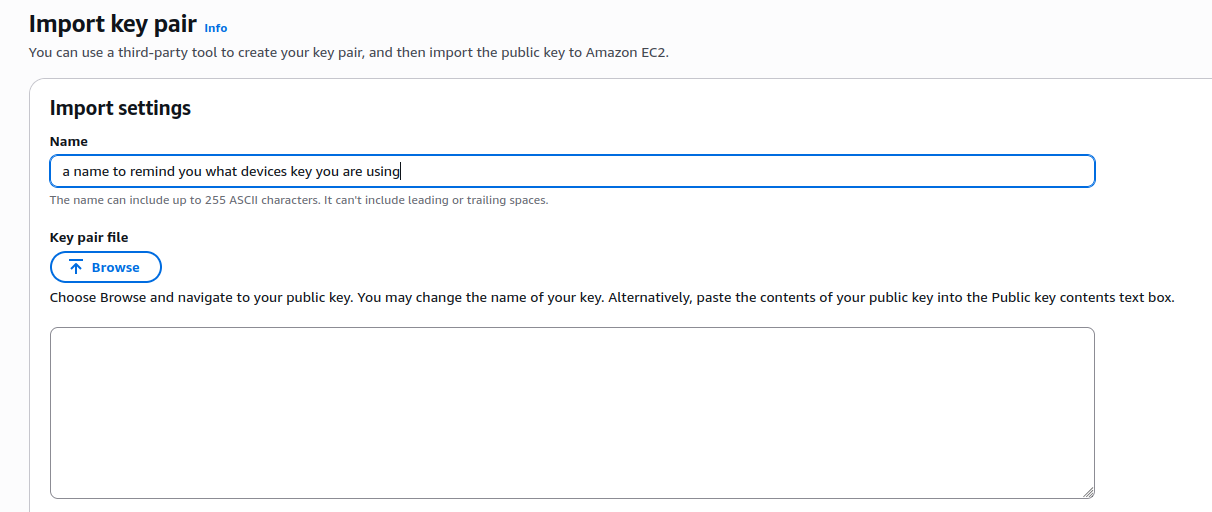
And then we can go to the Actions menu instead of the Create key pair menu to upload our public key.
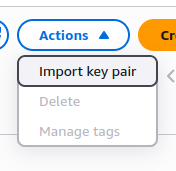
You can then either copy and paste the key into the provided text box, or simply just select the .pub file from your file browser. (Make sure to show hidden directories since your key will be saved by default to your home’s .ssh directory!)
3. Using our key in the instance creation process
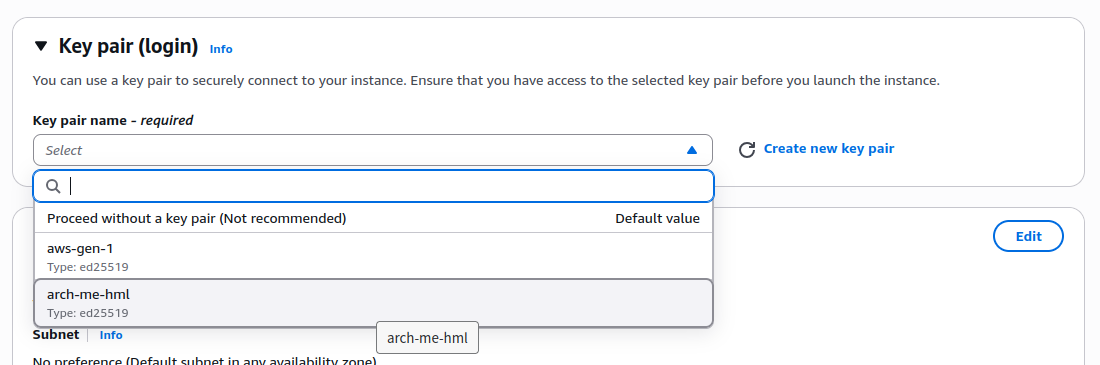
When you add your key, the process is simple when creating an instance.
In the creation dashboard, you will see a section asking for your key pair. You can simply select your key from the dropdown menu.
The rest is simple! Continue with your instance deployment as you would normally and when you go to connect for the first time, your SSH client will add the new server to your known hosts file and connect automatically. Have fun!
Reference
https://docs.aws.amazon.com/AWSEC2/latest/UserGuide/create-key-pairs.html