To host your own blog in 2026, you dont even need to consider technologies like NGiNX, Apache or even mess with certs from Let’s Encrypt.
Crazy right?!
Maybe not. AWS has provided the ability to host static content with S3 and then make it widely available and have you – the “webmaster” – not worry about scaling at all with CloudFront for years. To complement the ease of use, all of this can be done under the current AWS free tier, offering some impressive request limits for a sweet $0.00. It’s just now that I am considering to move my internet projects from a Linode VPS to AWS after deciding to obtain a AWS Solutions Architect Associate cert here in the near future. So let’s learn a few basic AWS services and save some money on hosting your own blog for only the mere cost of whatever you paid for your domain name.
Tip: Right click and open images in new tab to see their original size
Here are a few prerequisites to get out of the way:
- Have a domain name (a website address e.g. example.com)
- Have some stuff to put on said site that is static content (Images, video, HTML, CSS, Javascript)
There are endless ways to produce a static webpage, from rolling your own HTML by just typing it out in a text editor, to using programs that make it easier to managed your site like hugo – which I am using for the site you are currently visiting.
I plan to go more in depth with hugo in a later post, but for now lets just assume all of the content is ready to be hosted online.
Step 1
Make your bucket.
This is the easiest step! Create a bucket. It doesn’t need anything special, maybe add your domain name or use something you can recognize as a name so you don’t accidentally delete it later on.
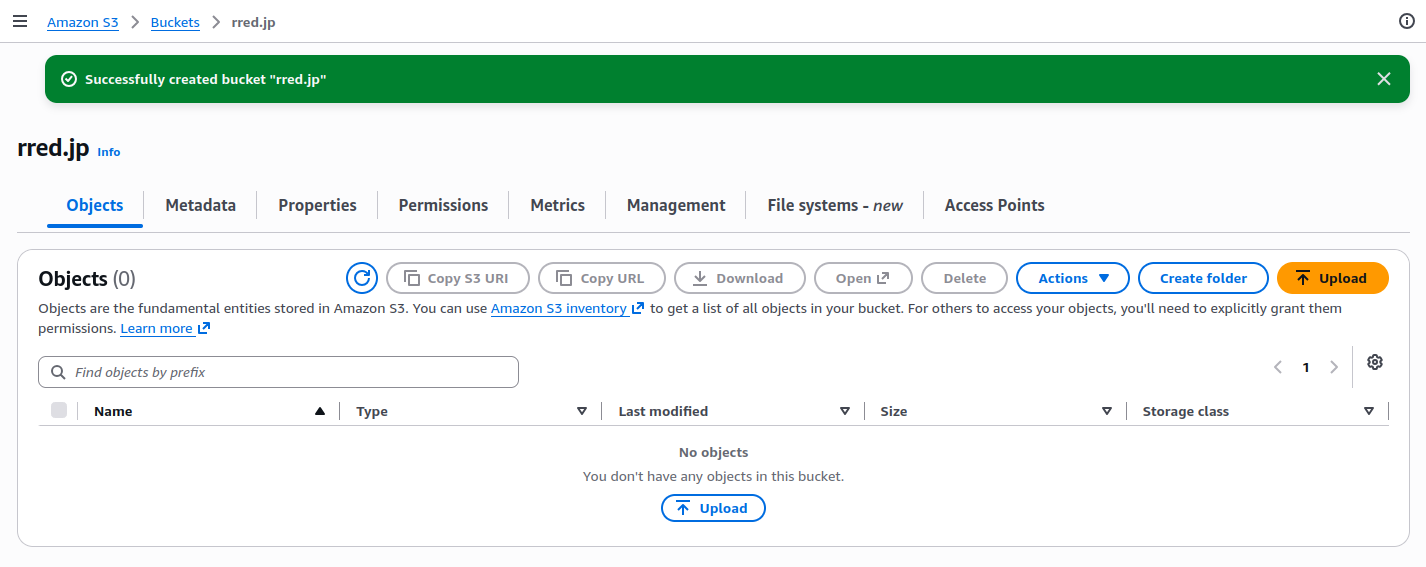
Make sure the bucket contents are set to private. You never need to make it public when using CloudFront as you are just communicating between two AWS services.
Step 2
Enable CloudFront.
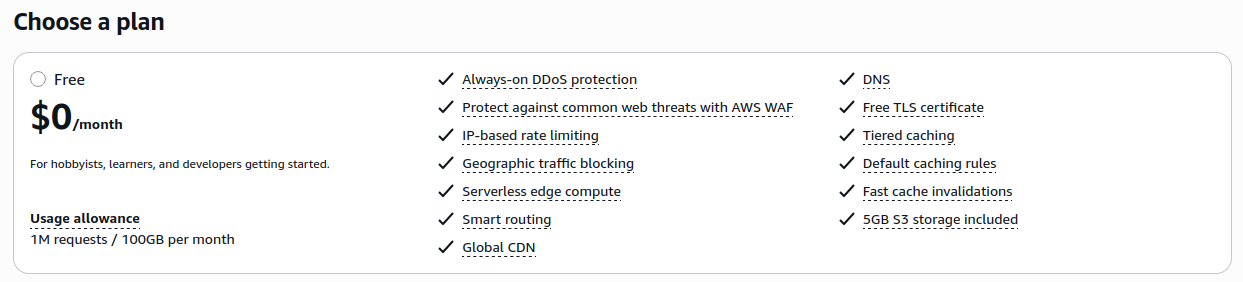
Open up the CloudFront panel and create a new distribution. Make sure you select the free tier unless if you plan to have millions of visitors on day one! You will be asked some questions.
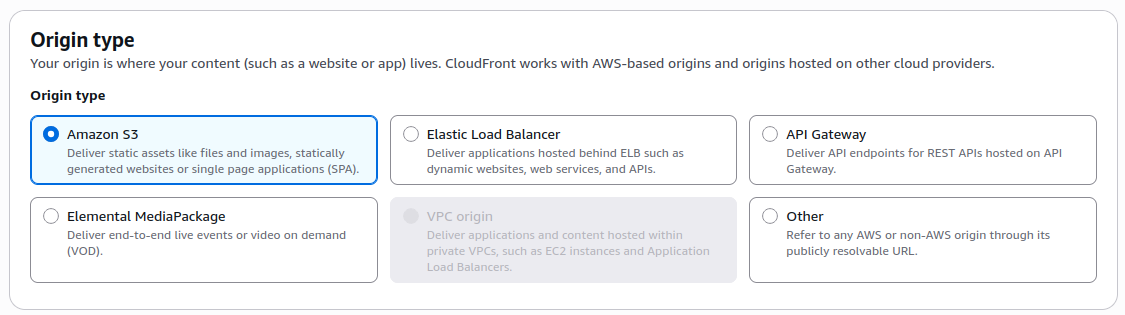
Select your origin type. Since we are using S3 to host our files, select Amazon S3.
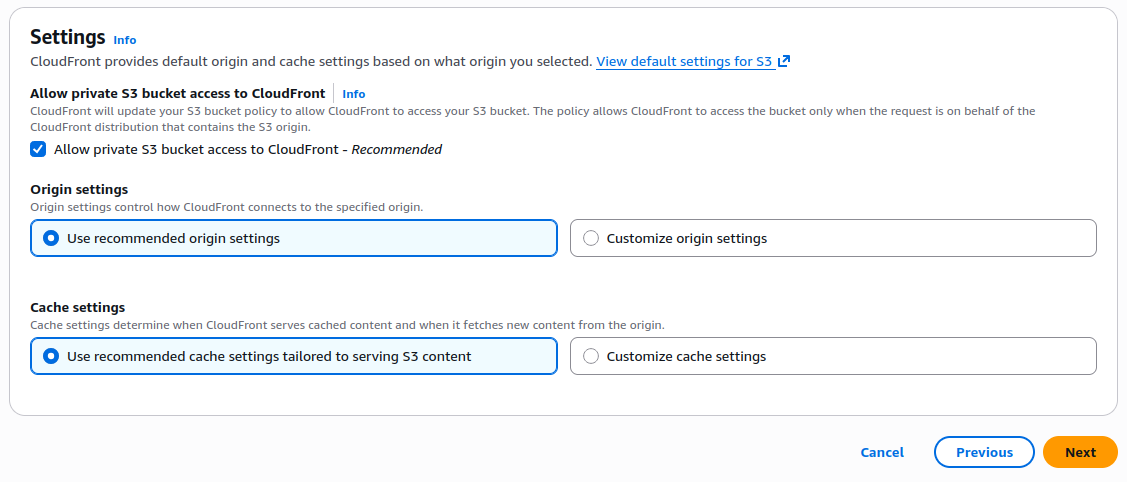
Next you will be asked some security options. As we said before, keep it private as CloudFront does not need you to have a public bucket to work. Default origin settings work best in this scenario. You can also enable the cache for a potential speed boost. However, since our site is very small with just text and images it probably won’t make much of a noticeable difference early on.
Step 3
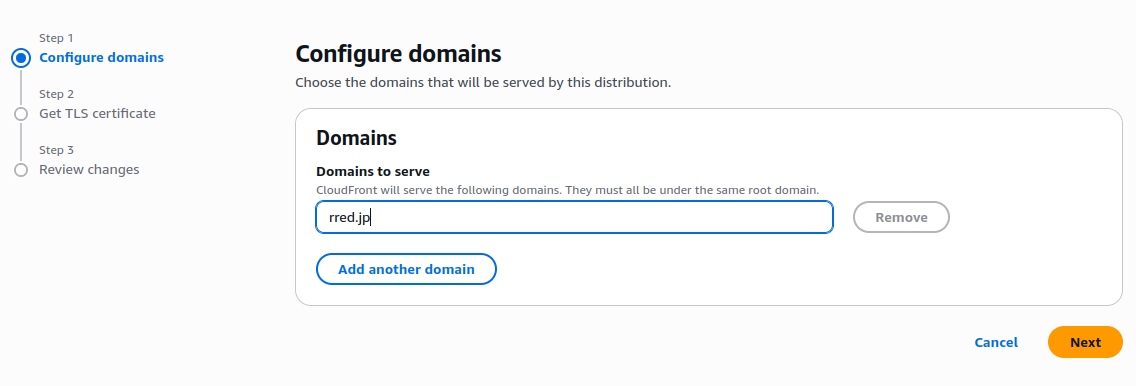
Configure your domains.
Your CloudFront distribution should be set up now. We can enter the general settings by clicking on the distribution ID and see some options.
Click on the Edit Setings button on your general tab and you can see “Alternate domain name (CNAME) - optional” input your domain name here and its www subdomain (optional) after requesting the certs from ACM.
Step 3.5
Requesting certificates for your domains.
You will need to get a cert or two for your domain by authenticating your ownership of said domains typically through inputting CNAME records on where you manage your domain’s DNS records. This is highly recommended as certs enable HTTPS for secure online transmission of your sites data to the users web browser.
In this instance I am using CloudFlare nameservers – this is separate from AWS and your config panel will vary.
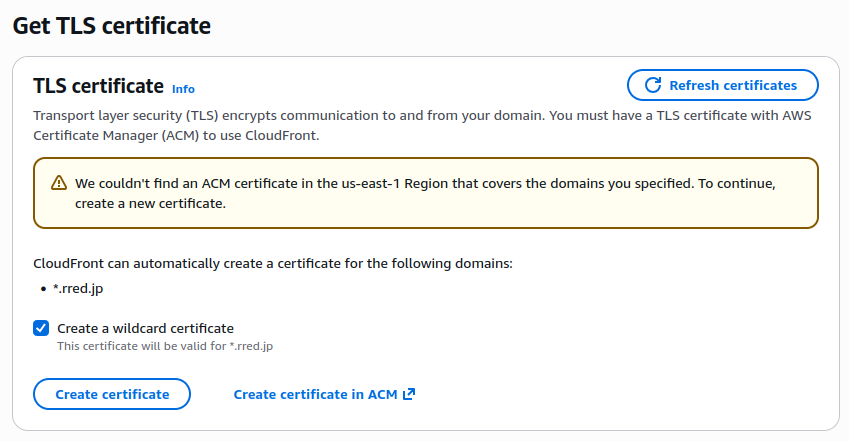
AWS telling us we need a cert for TLS (HTTPS)
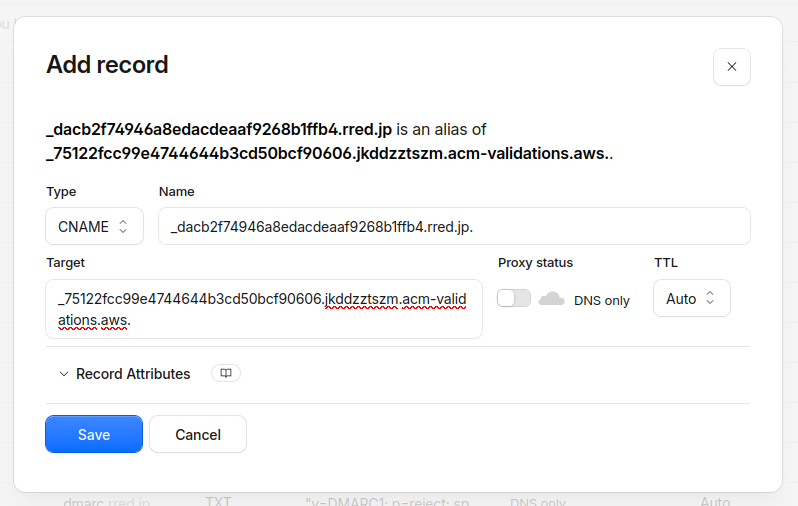
Putting in a CNAME record in my DNS record that verifies my ownership of the domain to AWS.
Note: if you want your websites www subdomain to direct the user to your root domain where you probably are hosting your blog, make sure to also get a cert for that subdomain and do the verification for that process too. This process was a bit hard to understand at first, but I recommend registering e.g. example.com and www.example.com at the same time since AWS seems to bundle these names together under one cert.
It will take some time for the CNAME entries to fully propagate (usually around 10 minutes for cloudflare), so don’t worry if ACM doesn’t hand you a vaid cert back instantly.
Step 4
CNAME records and the finishing touches.
For a minimally viable site, you will lastly need to add one more CNAME record. This is the root @ (or whatever subdomain your blog is hosted on) being pointed to the (somthing).cloudfront.net domain you are provided by your distribution.
The last important step is to make sure you set a default root object. In many cases, this will be index.html, but of course, depending on your website design this may be different.

After that’s all done all you have to do is at least upload a index.html file to the root directory / of your bucket and watch it come alive!
Extra info for hugo
If you are experiencing access violations or xml errors while using hugo to generate your sites pages, you may need a URL rewrite function. Hugo uses pretty urls – no .html or .htm at the end of pages. This creates a problem for CloudFront. You must create a function in the CloudFront console using the cloudfront-js-2.0 runtime and associate it with your distribution. The code I provided here will do just the trick:
function handler(event) {
    var request = event.request;
    var uri = request.uri;

    // Check whether the URI is missing a file name.
    if (uri.endsWith('/')) {
        request.uri += 'index.html';
    }
    // Check whether the URI is missing an extension (e.g. /about)
    else if (!uri.includes('.')) {
        request.uri += '/index.html';
    }

    return request;
}