So, you have your coding project files, Hugo site or pretty much anything that goes through constant revisions and resides in a directory structure with a lot of small files. How do you make sure you accidentally don’t delete anything important? What if you want to keep a history of edits just in case if you happen to insert a line somewhere where it shouldn’t be? This is a problem to be tackled by version control systems. Without contest you can argue that the most popular of these version control systems is Git. It is used for the Linux kernel and many open-source projects to massive corporate environments. This wide user base of course means that there are a lot of things that Git can do because it serves so many people, but at its core, Git can also be used for the individual and their personal projects too. Here we will go over the basic commands to make sure your project is backed up somewhere save and how you can restore a simple copy of that backup when the need arises.
Step 1 - Creating our repo
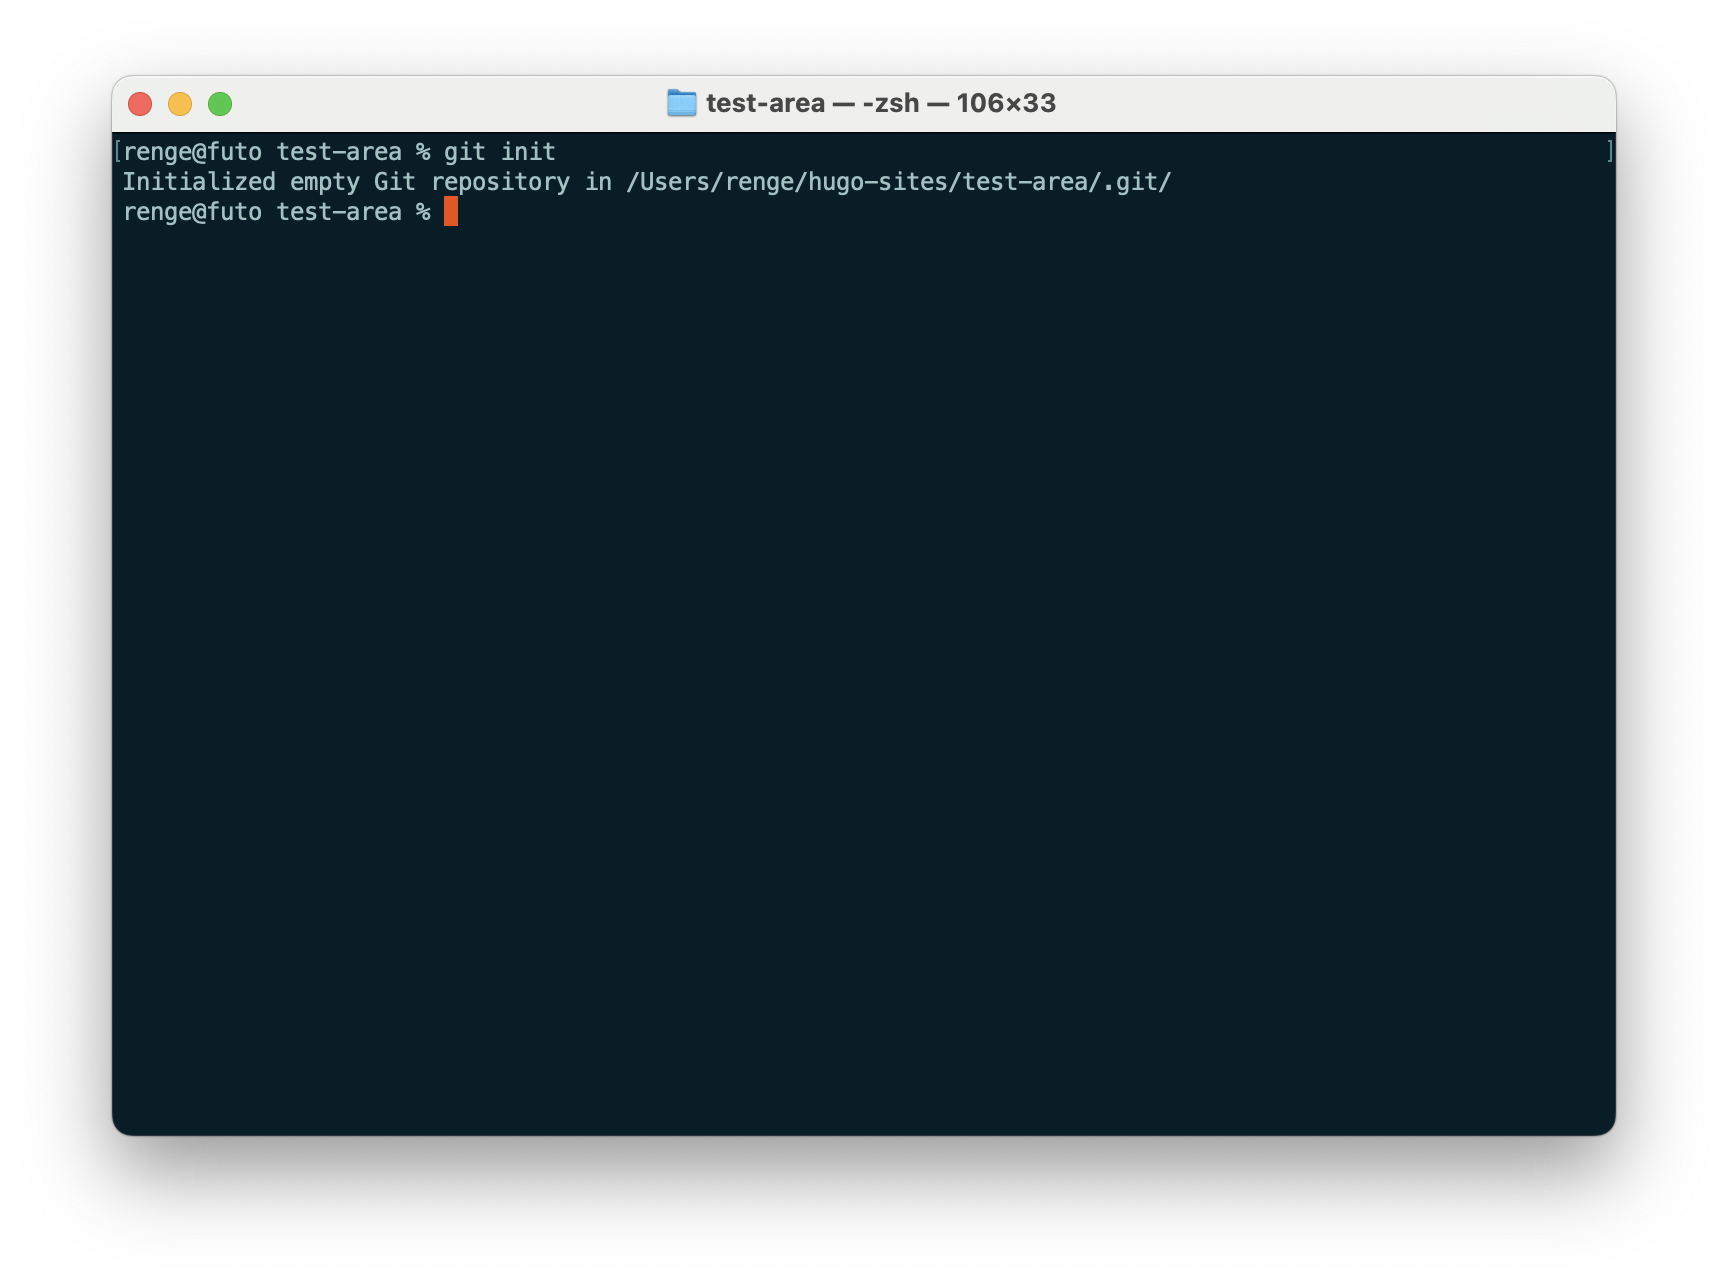
The first thing we should check when we successfully installed git on our machine is to navigate to our project directory and run
$ git init
If you are running Git inside a fresh directory (i.e. directory that never had git used in it) you shouldn’t see much.
If you did initialize Git in that directory before and did not notice the .git dotfiles you might get something like this
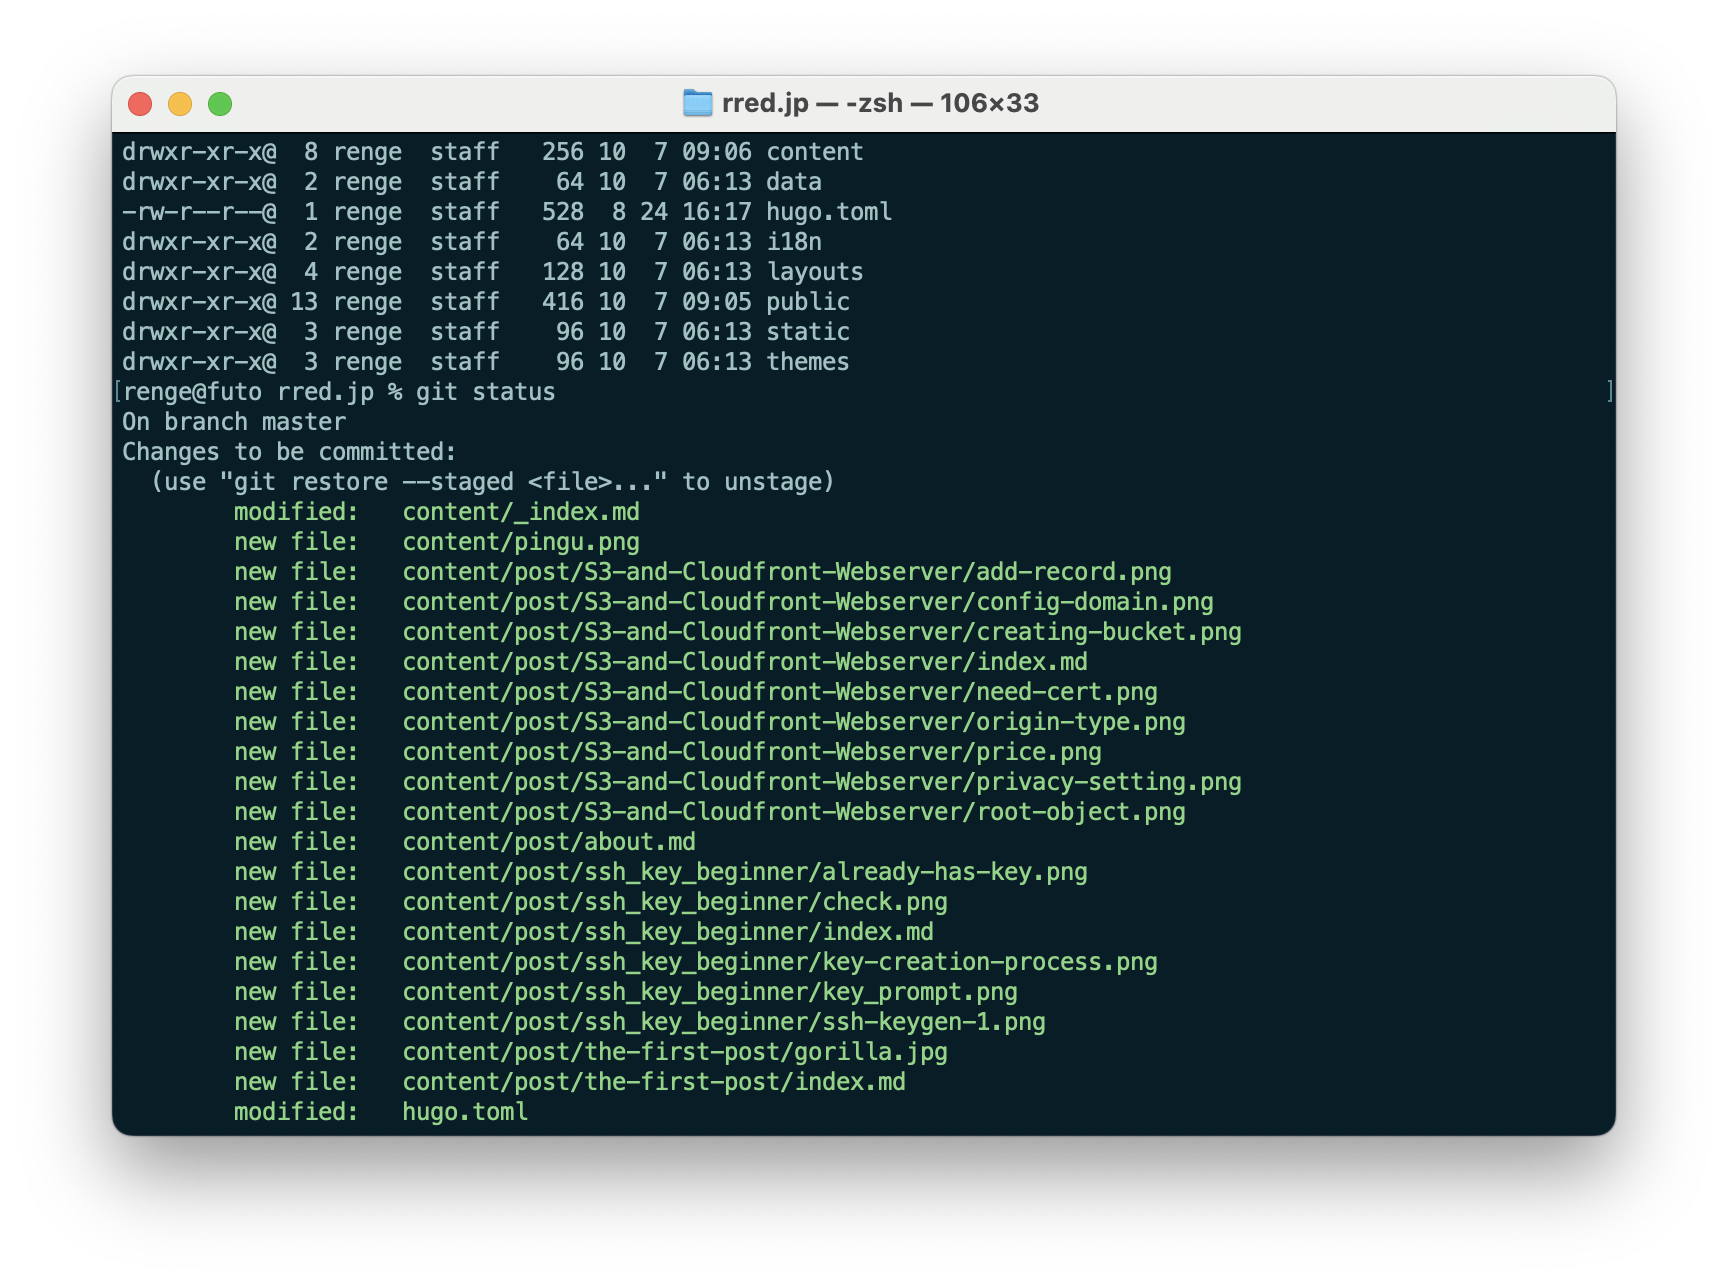
Git init is quite simple as it is just a figurative light switch to say “Hey Git! Let’s make a new project in this spot now!”
We can check our work with
$ git status
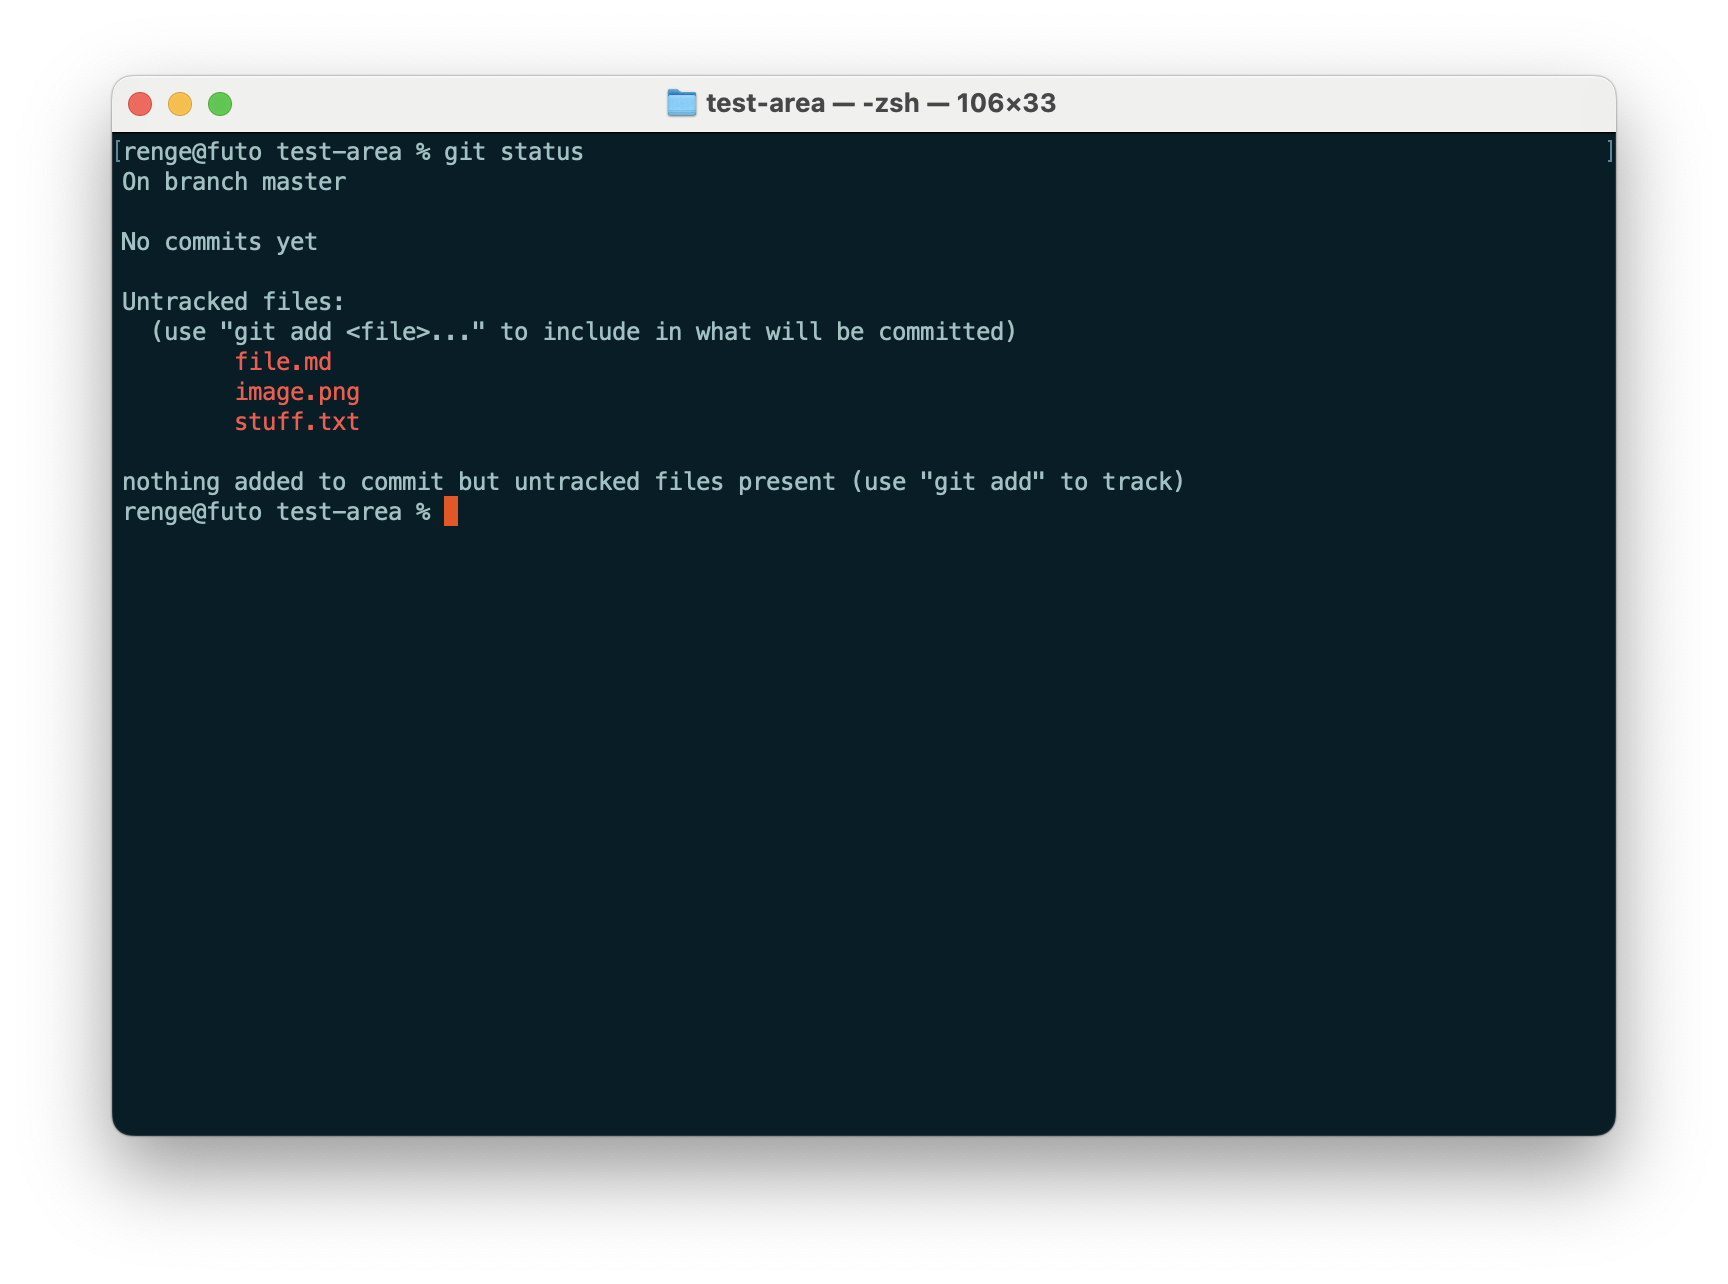
In case you are wondering, we will use the term repo to refer to the working directory of our project. This is where everything is contained, along with all of the files Git makes inside of it to track your actions. A normal directory without Git initalized in it is just a directory. Hence, the term git repo. In terms of files, Git typically just creates a .git directory inside of your repo at first to store its working contents. It’s best not to touch anything inside of .git if you don’t know what you’re doing.
Here is what you might see inside of the .git directory inside of your brand new initialized repo:
$ ls .git
config		HEAD		info		refs
description	hooks		objects
Step 2 - Adding files to our repo
After initializing our repo, we then need to tell Git what files we would like to add so we can then later commit them. This can be done with
$ git add .
This is a catch-all command that will add all files that are not in your .gitignore file (if you have one) to the list of files scheduled to be included in the next commit.
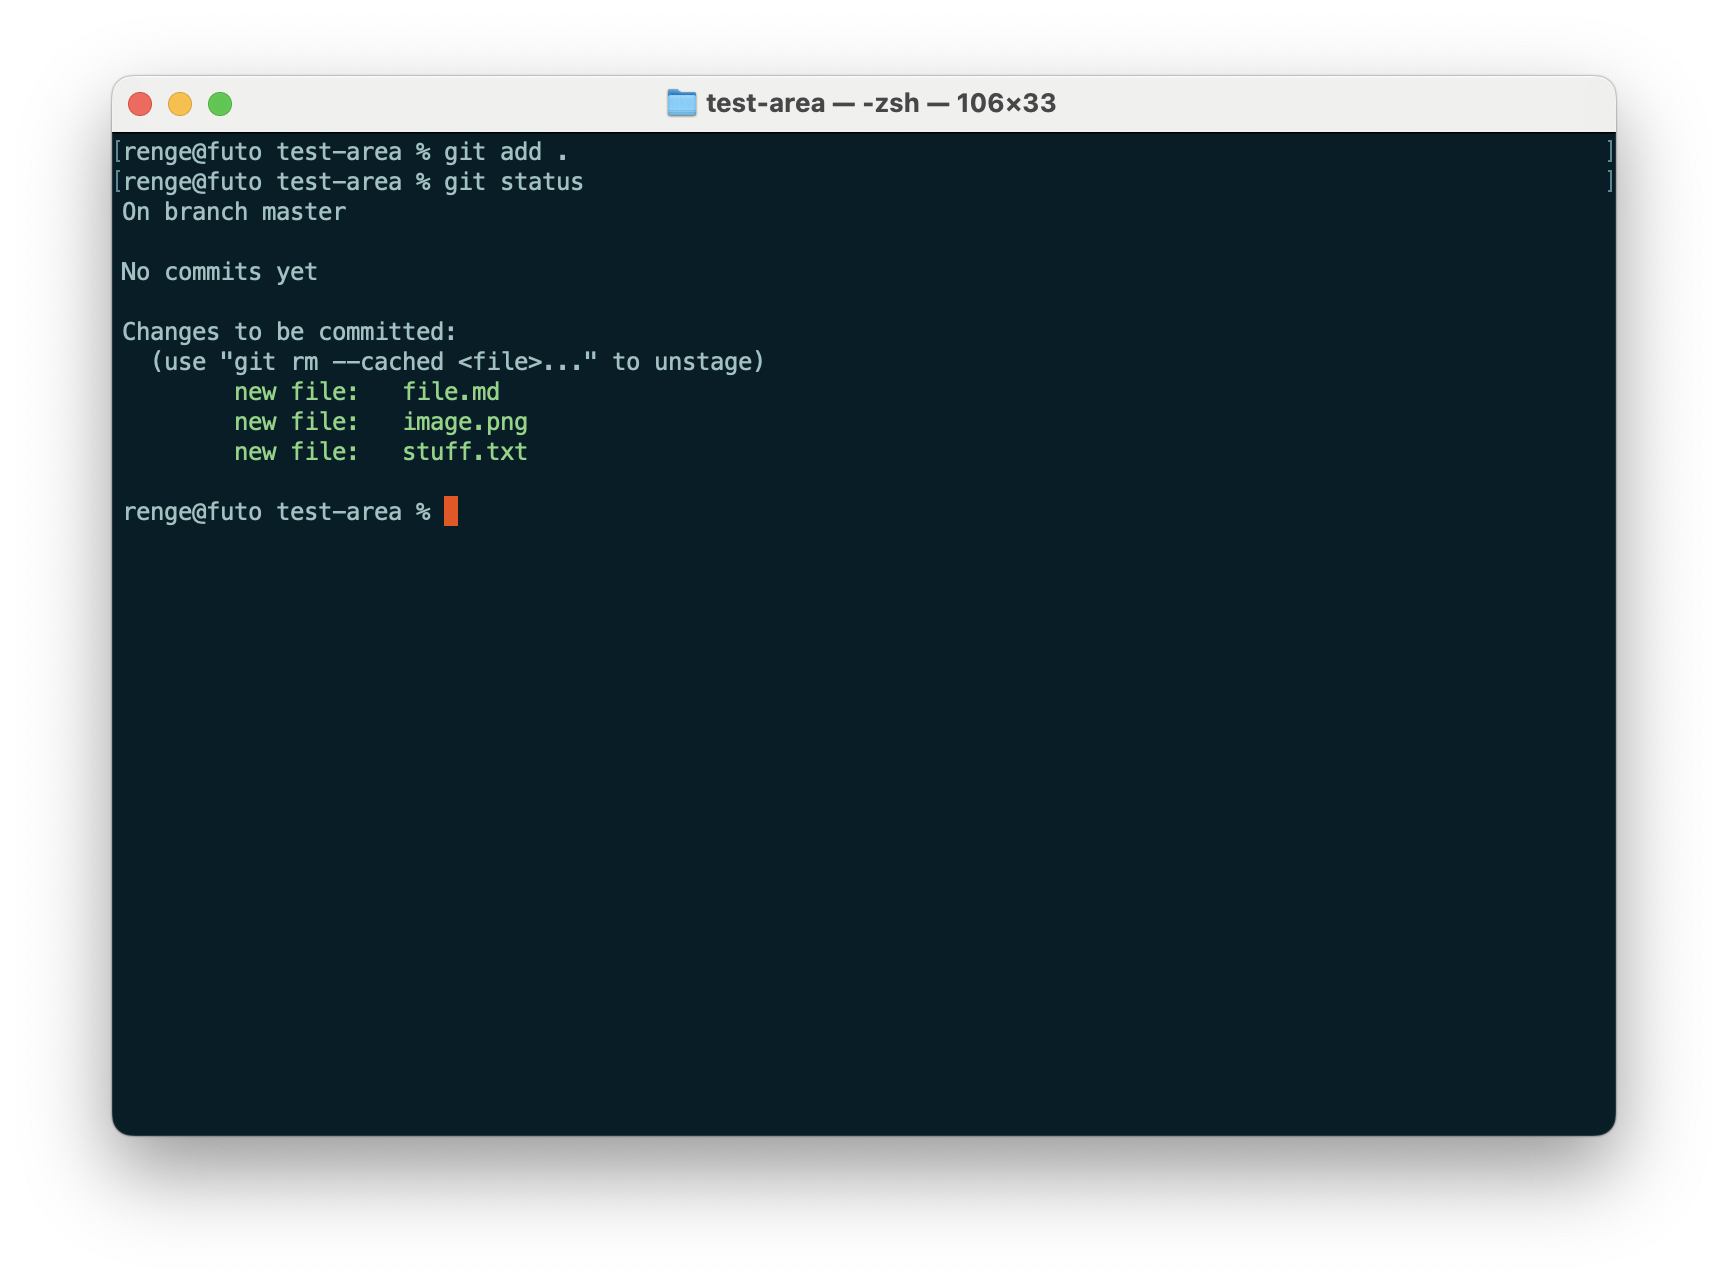
You can now see that the previous files that were untracked and in red, are now green and became changes to be committed.
Step 3 - Committing
A commit is a snapshot of all of the files at that point of time. It links itself to a chronological chain of previous commits. So, if you make a change (A), do not run git commit, make another change (B), you will not be able to revert to the state the files were in during change A. This can be thought of like a video game save file, you can only revert to the point in time a commit, or any other commit before the last commit, was made.
Also, between commits, if you make any new files, you will have to add them with git add.
The command to commit the files is quite self evident:
$ git commit -m "Your comment here"
It is best to leave a comment with the -m flag to breifly explain what changes you made. This is especially true when you use GitHub as they make a comment required for each commit.
After each commit you will be shown a list of changes:
[master (root-commit) 48480a5] New posts and updated .gitignore
 3 files changed, 0 insertions(+), 0 deletions(-)
 create mode 100644 file.md
 create mode 100644 image.png
 create mode 100644 stuff.txt
You can use
$ git log
to see a past history of your commits.
commit 48480a51a4fe2ad6f4fa5f945201a2c97463d88f (HEAD -> master)
Author: You <your@email.example>
Date:   Wed Oct 7 14:41:11 2026 +0900

    New posts and updated .gitignore
Step 4 - Save a copy of your repo to GitHub
After your git commit, you are pretty much set for the basics of Git. If you ever have some disastrous code change, you can always revert your repo, which we will explain in step 5. But here, we will go over backing up your repo to a remote host, in this case, GitHub.
First let’s make our repo on GitHub.
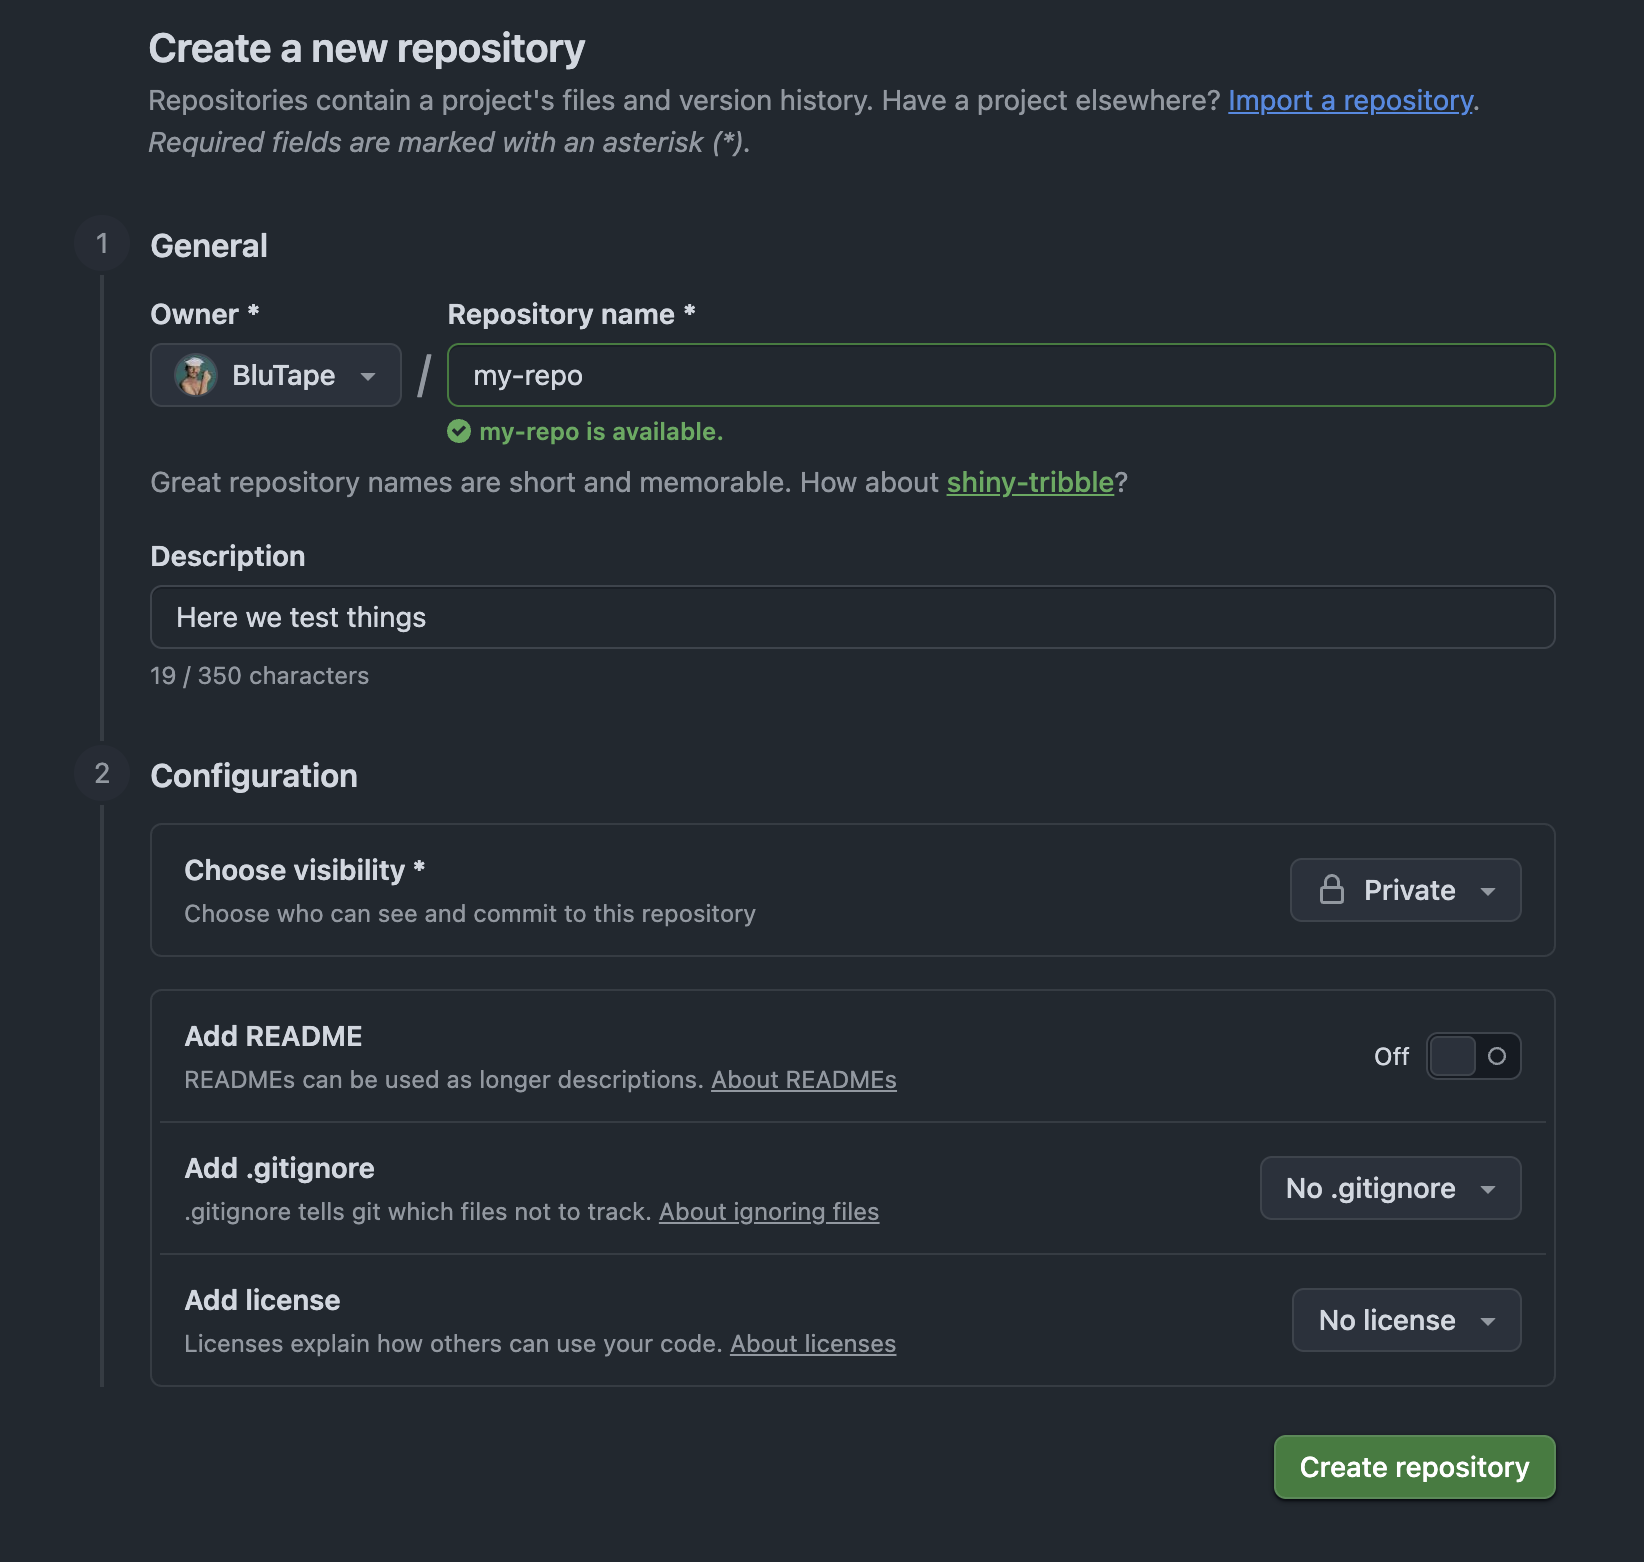
Let’s make sure to set the repo to private for the time being. GitHub defaults to public, and while you may want to show off your work, sometimes sensitive info like SSH keys are left inside your repo. If you do not know for certain the contents of everything and the intention of what you plan to do with your project, Private is the safe bet.
Our next commands to run are as follows:
$ git branch -M main
$ git remote add origin https://github.com/your-username/your-repo-name.git
$ git push -u origin main
Doing a git branch will set the main branch name. This avoids confusion as it is either set to main or master. Pick one and stick to it.
You then can do git remote add origin to your GitHub url (Don’t forget the .git at the end!)
Step 4.5 - Creating a GitHub personal access token
Before you do git push you will need to generate a personal access token on the GitHub console so you can have something to use to login with from your machine’s CLI as your normal GitHub password will not work in this case.
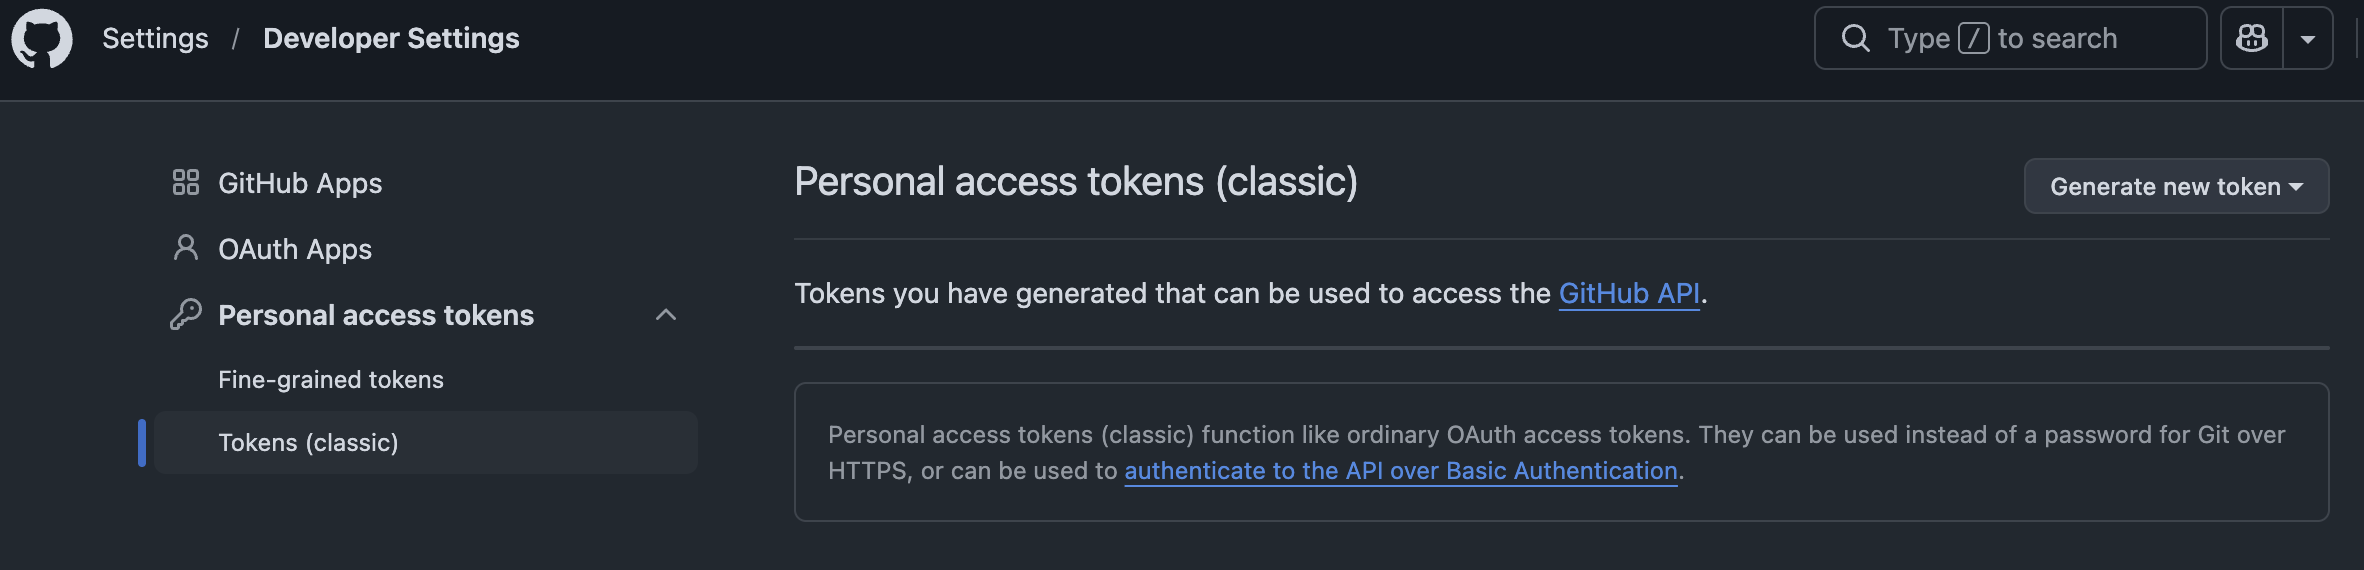
You will have to go to your developer settings in your GitHub account’s console. In this case for simplicity we will go with the classic token.
You can set the expirity date and the name, but one thing to make sure is to make sure the scope is set so it is allowed to manage your GitHub repos.
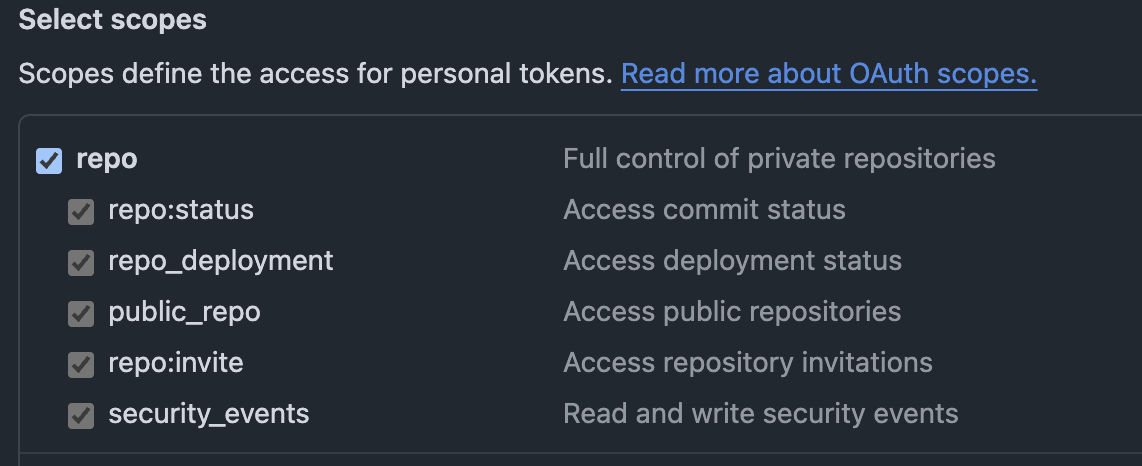
You will be provided with a token for you to copy and use as your password for the cli in which you use Git.
After that is all done we can run git push -u origin main
You don’t need to use origin in this case, you can use anything you like as it’s the name that is assigned to the location you are pushing to. Use something that can easily remind you where and what you’re working with.
Username for 'https://github.com': BluTape
Password for 'https://BluTape@github.com':
Enumerating objects: 105, done.
Counting objects: 100% (105/105), done.
Delta compression using up to 10 threads
Compressing objects: 100% (96/96), done.
Writing objects: 100% (105/105), 3.84 MiB | 7.57 MiB/s, done.
Total 105 (delta 25), reused 0 (delta 0), pack-reused 0 (from 0)
remote: Resolving deltas: 100% (25/25), done.
To https://github.com/BluTape/<your-repo-here>.git
 * [new branch]      main -> main
branch 'main' set up to track 'origin/main'.
Step 5 - When you need to revert the repo
Here is an optional step that you will eventually need to know on how to revert changes.
First you must get that long random string called the hash by looking at git log
renge@futo test-area % git log
commit e283d45bf9c2bb4ad4027963ed8e08a56efeeec6 (HEAD -> master)
Author: BluTape <email@example.com>
Date:   Mon Oct 12 16:51:37 2026 +0900

    Added newstuff.

commit 48480a51a4fe2ad6f4fa5f945201a2c97463d88f
Author: BluTape <email@example.com>
Date:   Wed Oct 7 14:41:11 2026 +0900

    New posts and updated .gitignore
renge@futo test-area %
Then run git revert with the specified git hash of the version you want to return to.
$ git revert e283d45bf9c2bb4ad4027963ed8e08a56efeeec6
[master 1ff84ac] Revert "Added newstuff."
 1 file changed, 0 insertions(+), 0 deletions(-)
 delete mode 100644 newstuff.txt
Your files will be modified, ‘removed’, or added accordingly.
Step 5.5 - If you need to download your repo
When you have a copy of your repo somewhere else you can run git clone https://github.com/your-username/your-repo-name.git to download the repo to a new folder on a new device.
Even if you accidentally delete something with Git, you can un-delete it. That is the power that lies within Git and version control. Every action is logged and you can travel to any commit that was done to revert to that state. Make sure to commit often!
https://git-scm.com/book/en/v2/Getting-Started-About-Version-Control